
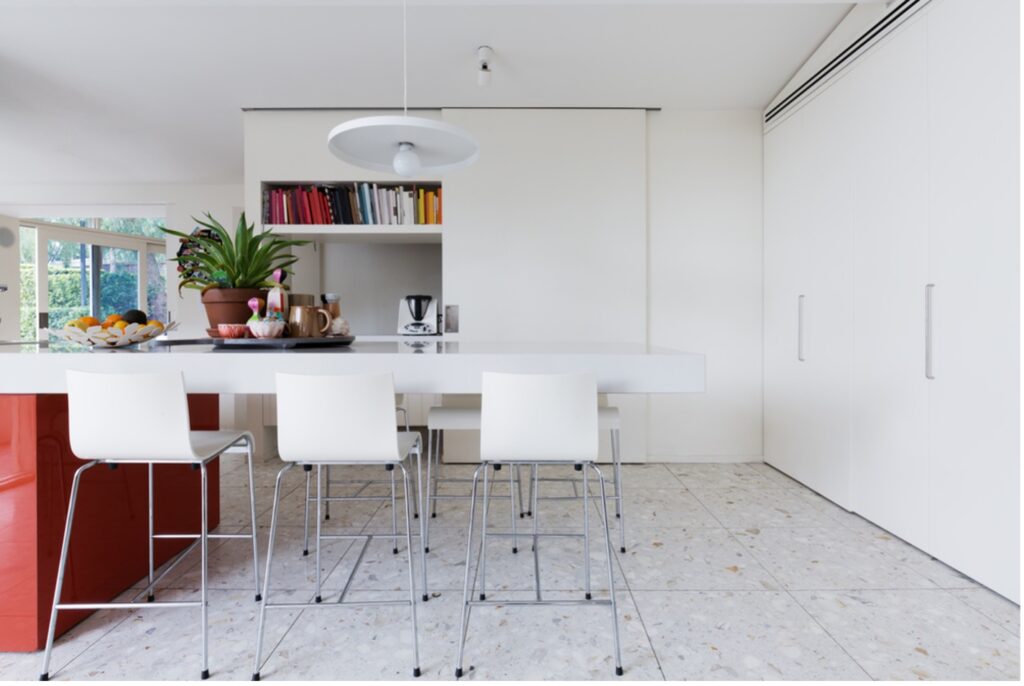
Some might believe terrazzo floors are only functional; however, they are also quite durable, with their luster lasting season after season. As a versatile flooring option, its application is limitless, making it a great choice for homeowners that want a unique surface to walk on every day.
While terrazzo floors are impressive to look at and durable to handle daily wear and tear. Nevertheless, the inevitable crack or chip can happen, causing your flooring to require repair.
Read on to discover how to repair terrazzo flooring.
Steps on How to Repair Terrazzo Flooring
Prepare the Floor for Repair
This step involves you removing the existing sealer using a stipping agent. Once done, properly clean the floor of any debris or dirt.
Chiseling
The next step is to chisel the damaged area into a square. When chiseling, ensure that the chiseled area has flat walls to pour the mix into.
Cleaning
Clean the newly formed debris using a vacuum cleaner. Once that is done, wash the chiseled area using the cleaning liquid. This process helps you get rid of loose debris and dirt. Before moving on to the next step, ensure that the square is completely dry.
Adding the Terrazzo Mix
How quickly you complete this process depends on how thorough you are. Suppose you don’t mind giving your terrazzo flooring a unique look different from the original design. In that case, you can simply create a terrazzo mix using your selected marble chips and matrix colors.
Alternatively, if you are quite particular, you will need to identify the marble chip origins and the matrix color of your terrazzo flooring. Marble chips tend to come in numerous dimensions and colors.
You should note that there is no way you can get an absolute color match when repairing your terrazzo flooring. This is because age and daily use give each terrazzo tile unique characteristics that can’t be reverse engineered or copied.
Pour the Mix
When pouring the terrazzo mix, you must ensure that the aggregates are evenly distributed throughout the floor. The last thing you want is an imbalance of suitable colors and aggregates on the new patch, which can stop it from matching as closely as possible with the existing terrazzo floor.
When pouring the mix, ensure that you pour it higher than the existing terrazzo flooring. You need to ensure that no air is trapped within the mix.
Leave the Patch to Cure
After pouring the terrazzo mix, you will need to give it 24 hours to completely dry. Before moving on to the next step, you must ensure that it is completely dry. You can grind it using low grit diamond pads when it is dry.
The Grinding Process
Once the terrazzo mix is dry and hard, you can begin grinding. When doing this, ensure you use a low grit diamond. You can also use copper or metal bonded diamond pads to ensure no groove lines are left.
Clean, Seal, and Buff
Clean and then wash the repaired floor. As soon as it is completely dry, you can apply sealer and then wait for it to fully cure. When buffing, buff the first coat sealer as soon as it is dry. You can repeat this process several times if you want a polished mirror look.